
How to Mount a TV on the Wall: A Step-by-Step DIY Guide
Difficulty
Beginner
Time
1-2 hours
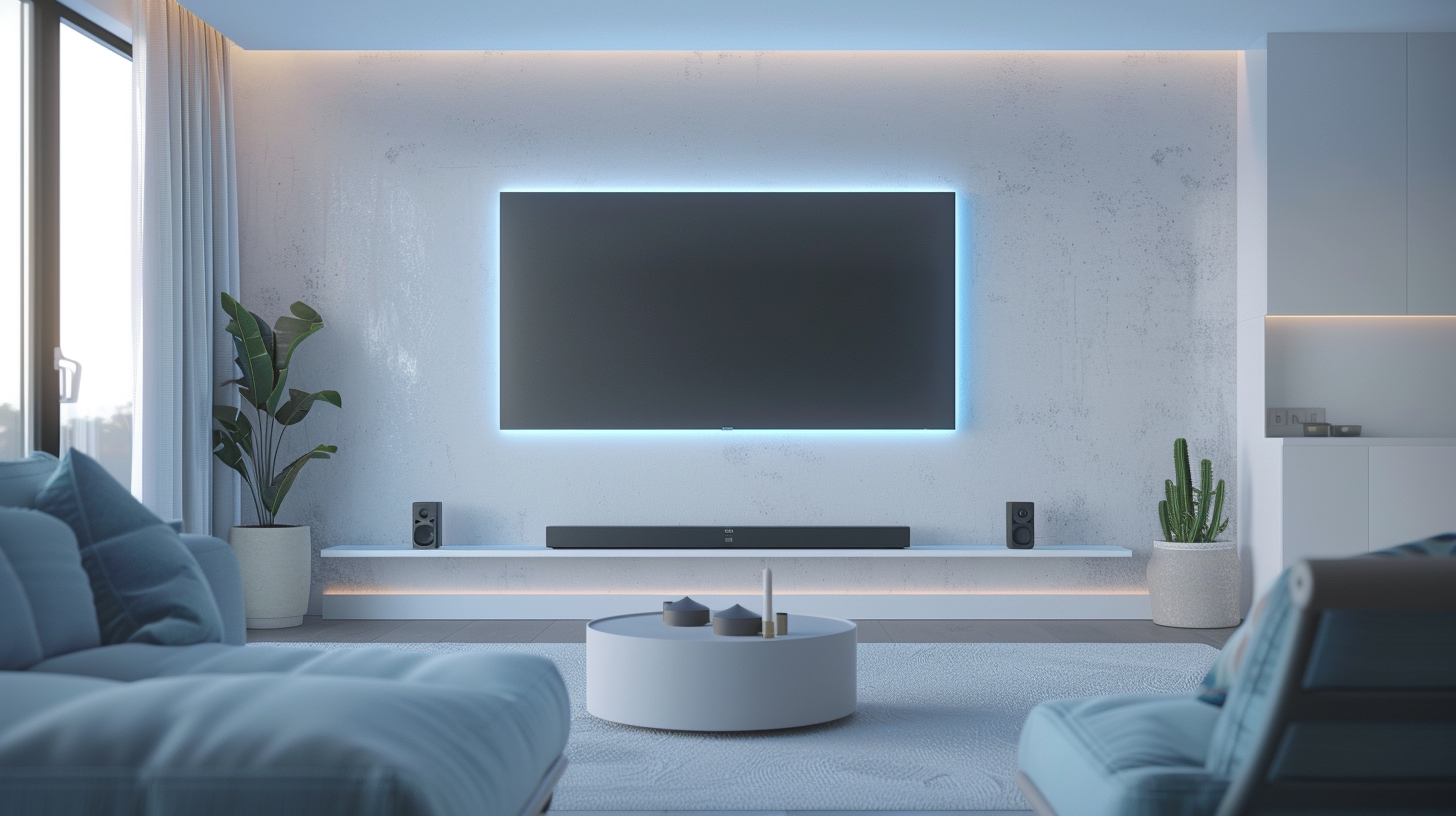
Mounting a TV yourself is one of the most satisfying weekend upgrades, and with the right approach it is genuinely beginner-friendly. The keys are anchoring into studs, choosing the correct mount, and planning your cable path. Follow these steps and you will end up with a secure, perfectly level TV and a clean, wire-free look.
Before you start
The most common DIY mistake is skipping the studs. Drywall anchors are not rated to hold a TV long-term. Always fasten your bracket into wall studs. If your ideal spot has no studs, that is a great reason to call a pro who can add blocking or use a specialty mount.
Tools You'll Need
- •Stud finder
- •Drill and appropriate bits
- •Socket wrench / provided lag bolts
- •Level (or laser level)
- •Tape measure and pencil
- •Screwdriver set
- •A helper for lifting
Step-by-Step Instructions
Choose the right wall and height
Pick a wall with studs and no plumbing or major electrical runs. Center the TV so the middle of the screen sits roughly at seated eye level, about 42-48 inches from the floor for most living rooms.
Pick the correct mount
Match the mount to your TV's VESA pattern and weight. Fixed mounts sit closest to the wall; tilting mounts help with glare; full-motion mounts are best for corners or angled viewing.
Locate and mark the studs
Use a stud finder to mark the center of two studs (typically 16 inches apart). Studs are essential; drywall anchors alone are not safe for a TV.
Mount the wall bracket
Hold the bracket level, mark your holes, drill pilot holes into the studs, then drive in the provided lag bolts. Confirm it is level before fully tightening.
Attach the arms to the TV
Screw the mounting arms or plate onto the back of the TV using the correct VESA screws and spacers. Do not overtighten into the TV chassis.
Hang the TV and secure it
With a helper, lift the TV and engage it onto the wall bracket. Lock or tighten the safety mechanism per the instructions.
Manage and conceal the cables
Run HDMI and power down to your devices. Use an in-wall cable kit for a clean, code-compliant look, or a paintable raceway as a no-cut option.
Level, test, and tidy
Do a final level check, confirm every source works, and bundle any excess cable. Enjoy your clean, wall-mounted TV.
Choosing the Right Mount
How to Hide the Wires
You have three clean options, from easiest to most polished:
- Cord cover / raceway: A paintable channel that sticks to the wall. No cutting, renter friendly, done in minutes.
- In-wall cable kit: Recessed brackets let you route low-voltage HDMI cleanly inside the wall for an invisible finish.
- Full in-wall power relocation: The most seamless look, moving an outlet behind the TV. This involves electrical work and is best left to a professional.
Safety and warranty tip
Never run standard power cords inside the wall. It violates electrical code and is a fire hazard. Use only in-wall rated cable and code-compliant power solutions, or have an installer handle the outlet relocation.
When to Call a Pro
DIY is perfect for a standard drywall wall with accessible studs. Consider professional installation for heavy 85"+ displays, brick or stone and tile walls, above-fireplace mounts that get hot, or any job where you want fully concealed wiring and a new hidden outlet. In the Loveland area, our team handles these installs daily and guarantees a level, secure, wire-free result.
Want it done right the first time in Loveland, CO?
Link Light AV handles network, home theater, security, and smart home installation for homes and businesses across Loveland and Northern Colorado. Get a free, no-obligation estimate today.